Investing in commercial real estate offers incredible opportunities, but lasting success is forged in the crucial period between an accepted offer and the closing table. This is the due diligence phase, a meticulous investigation that separates savvy investors from those blindsided by costly, deal-breaking surprises. A comprehensive commercial real estate due diligence checklist is your most powerful tool to systematically de-risk an acquisition and verify that the asset you’re buying aligns perfectly with your investment thesis.
This guide provides an actionable framework to move forward with confidence, breaking down the entire process into distinct, manageable phases. We'll cover everything from financial underwriting and physical inspections to legal standing and tenant lease reviews. Whether you're analyzing your first small multifamily property or scaling a large portfolio, this checklist ensures you cover every essential angle to transform your purchase from a leap of faith into a calculated, strategic investment.
1. Property Title and Ownership Verification
A clean title is the bedrock of any secure real estate investment. This step involves a comprehensive title search to confirm the seller has the legal right to transfer the property and to uncover any existing claims, liens, or restrictions tied to the asset. Think of it as the property's official biography, revealing its complete history of ownership and obligations so you don't inherit costly legal problems. This process is a non-negotiable part of any serious commercial real estate due diligence checklist.
What to Look For
The title company will produce a "title commitment," a report detailing their findings. Your job, alongside your attorney, is to scrutinize this document for:
- Liens and Judgments: Claims against the property to satisfy a debt, such as unpaid property taxes, contractor liens (also called mechanic's liens), or court-ordered judgments.
- Easements: Rights granted to a third party to use a portion of your property for a specific purpose (e.g., a utility easement for power lines). A poorly located easement could severely limit development plans.
- Encumbrances and Covenants: Restrictions on how the property can be used, such as historical preservation rules that dictate building materials or limit certain business activities.
- Chain of Title Errors: Issues like an old mortgage that was paid off but never officially discharged from public records, creating a "cloud" on the title that must be cleared before closing.
For Beginners: A "clear title" means you have the unrestricted right to use and develop the property as you intend. An undiscovered easement or covenant can be a deal-breaker.
Actionable Tips
- Order Immediately: Request the title search as soon as your offer is accepted to save time.
- Read the Exceptions: Pay close attention to the "Schedule B-II" section of the title commitment, which lists exceptions to the insurance policy. Question every item you don't understand.
- Verify Seller Info: On a real estate investing platform, ensure the seller's name and entity information perfectly match the ownership records found in the title report. Any discrepancy is a major red flag.
2. Financial and Market Analysis
This is the quantitative heart of your commercial real estate due diligence checklist, where you rigorously test whether the numbers support your investment goals. It combines a deep dive into the property's historical financial performance with a clear-eyed analysis of the surrounding market to arrive at a defensible valuation. This ensures the purchase price is justified not by emotion, but by cold, hard data, and prevents you from overpaying for an asset.
What to Look For
Your analysis should focus on both the property's internal performance and its external market context.
- Key Performance Indicators (KPIs): Calculate core metrics, including Net Operating Income (NOI), Capitalization (Cap) Rate, Cash-on-Cash Return, and the Debt Service Coverage Ratio (DSCR)—a measure of a property's ability to cover its mortgage payments. A DSCR below 1.25x will typically fail to meet most lenders' requirements.
- Historical Financials: Demand at least three years of trailing profit and loss (P&L) statements and rent rolls. Scrutinize these for trends in income, unusually high expenses, and vacancy patterns.
- Market Comparables ("Comps"): Analyze recent sales of similar properties to establish a market value range. For example, if a property is marketed at a 7% cap rate in a 5.5% cap rate market, you should question if the income is inflated or expenses are understated.
- Rent and Vacancy Trends: Research the submarket's average rent per square foot and vacancy rates. If the subject property’s rents are far above market, future income growth may be limited.
Actionable Tips
- Define Your Metrics: Before analyzing deals, define your minimum acceptable metrics (e.g., 8% cash-on-cash return, 1.30 DSCR). On an investor marketplace, you can set up a "buy box" to automatically filter for opportunities that meet these criteria.
- Stress-Test Assumptions: Model conservative scenarios. Underwrite the deal using a vacancy rate 5-8% higher than the current market rate and increase expense estimates to see how returns are affected.
- Verify, Don't Trust: Never rely solely on the seller's proforma. Rebuild the financial model from scratch using raw data from P&L statements, rent rolls, and your own market research.
- Adjust Your Comps: When analyzing comparable sales, make specific value adjustments for material differences in age, condition, location, and amenities to arrive at a more accurate valuation.
3. Physical Property Inspection and Condition Assessment
Beyond the numbers lies the physical asset itself. A thorough property inspection is your defense against inheriting a money pit. This step involves a professional evaluation of the building’s structural integrity, core mechanical systems, and overall condition to uncover deferred maintenance or looming capital expenditures. Think of it as a comprehensive health check-up for your investment. An unidentified major issue, like a failing roof, can single-handedly derail a deal.

What to Look For
Work with your inspector to assess big-ticket items that can cripple your financial projections.
- Structural Integrity: Look for signs of stress like major cracks in the foundation, water intrusion, or settling that could indicate expensive foundational repairs.
- Major Systems: Evaluate the age, condition, and life expectancy of the HVAC (heating, ventilation, and air conditioning), electrical, and plumbing systems. A commercial HVAC replacement can easily cost tens of thousands of dollars.
- Building Envelope: This refers to the roof, windows, and exterior walls. A leaky roof or failing window seals can lead to widespread water damage and mold.
- Deferred Maintenance: Identify items the current owner has neglected, such as worn-out flooring, outdated fire safety equipment, or a parking lot in disrepair. These costs become your immediate responsibility.
For Experienced Investors: The inspection isn't just about finding problems; it's about quantifying them. A $5,000 repair is a negotiation point, but a $150,000 hidden structural issue might be a reason to walk away.
Actionable Tips
- Hire a Specialist: Use an inspector with specific experience in your commercial property type (e.g., multifamily vs. retail).
- Attend the Inspection: Walk the property with the inspector to see issues firsthand and ask critical questions.
- Sample Multifamily Units: For apartment buildings, insist on inspecting a representative sample (5-10%) of actual occupied and vacant units to get a true sense of the property's condition.
- Get a Detailed Scope of Work: Use the inspection report to create a line-item renovation budget. Platforms with deal management tools can help you track these budgets against your initial underwriting.
4. Income Verification and Tenant/Lease Analysis
A property's reported income is just a number on paper until it's rigorously verified. This step involves a deep dive into existing leases and tenant histories to confirm the asset's actual cash flow. It’s about separating the seller's pro-forma projections from the on-the-ground economic reality, ensuring the income stream you're buying is stable and sustainable. Uncovering a high-risk tenant base or discrepancies in reported occupancy can fundamentally alter a deal's viability.
What to Look For
Your goal is to validate every dollar of income and assess the quality of the tenants generating it.
- Lease Term Discrepancies: Ensure the terms on the rent roll (rent amount, start/end dates) perfectly match the signed lease agreements. Any inconsistencies are a major red flag.
- Tenant Creditworthiness and Concentration: Assess the financial health of major tenants. A single tenant representing 60% of the income creates a dangerous concentration risk—if they leave, your property's value plummets.
- Lease Expiration Schedule: Look for a "lease rollover cliff," where a large percentage of leases expire in the same 12-to-24-month period, creating significant revenue uncertainty.
- Rent Concessions and Delinquencies: Search for hidden rent concessions (e.g., free months) not reflected on the rent roll. A history of late payments can signal underlying tenant or management issues.
Key Insight: The rent roll is a claim, not a fact. Verifying it with estoppel certificates and individual lease audits protects you from overpaying for an asset with inflated or unstable income.
Actionable Tips
- Request a T-12 and Rent Roll: Immediately ask for the trailing 12-month operating statement and a current rent roll. Compare reported income month-over-month to spot irregularities.
- Obtain Estoppel Certificates: Require an estoppel certificate from every commercial tenant. This is a signed statement confirming key lease terms, preventing them from later claiming different terms exist. Lenders often mandate this.
- Compare Rents to Market: Analyze whether existing rents are above, below, or at market rates. Below-market leases present a value-add opportunity.
- Audit Tenant Files: Review payment histories for all tenants. Consistent late payments can be a symptom of deeper problems that impact effective property management. For more on this, check out this ultimate guide to property management.
5. Environmental Assessment and Phase I Site Investigation
Beneath the surface of a seemingly perfect property can lie hidden environmental liabilities that carry catastrophic costs. An environmental site assessment (ESA) is a professional investigation to identify potential contamination from past or present activities. This protects you from inheriting expensive cleanup obligations and legal liabilities. For any commercial or industrial deal, a Phase I ESA is a critical part of a comprehensive commercial real estate due diligence checklist and is almost always required by lenders.

What to Look For
A qualified environmental professional will conduct a Phase I ESA, a non-invasive investigation. Their final report will identify any Recognized Environmental Conditions (RECs), which are the presence or likely presence of hazardous substances.
- Historical Uses: The report will detail past uses of the property and surrounding sites. A former gas station, dry cleaner, or manufacturing plant on or near your site is a significant red flag.
- Government Records: This includes a search of federal, state, and local databases for records of hazardous waste generation, spills, or leaking underground storage tanks (USTs).
- Site Reconnaissance Findings: The professional will note physical signs of concern, such as stained soil, strange odors, or the presence of storage drums.
- Recommendations for Phase II: If the Phase I identifies RECs, the report may recommend a Phase II ESA, which involves invasive sampling and testing of soil or groundwater to confirm contamination.
Key Insight: A "clean" Phase I report provides a crucial defense against future liability under environmental laws like CERCLA (Superfund), establishing you as an "innocent landowner." Skipping it is a gamble you can't afford.
Actionable Tips
- Engage a Qualified Professional: Always hire a reputable environmental engineering firm that adheres to the latest ASTM industry standards.
- Order It Early: A Phase I ESA can take several weeks. Start the process immediately to allow time for a potential Phase II investigation if needed.
- Request Previous Reports: Ask the seller if they have any prior environmental reports. This can provide valuable historical context, though your lender will still require a new report.
- Budget for a Phase II: If you're looking at a property with a high-risk past (e.g., an industrial site), proactively budget for the possibility of a Phase II ESA, which can cost tens of thousands of dollars.
6. Zoning, Code Compliance, and Land Use Verification
A property's zoning and land use regulations are its legal operating instructions, dictating what you can and cannot do with the asset. This verification step confirms that your intended business plan aligns with municipal rules, uncovering regulatory barriers or non-compliance issues that could halt your project or trigger fines. Ignoring zoning is a recipe for a dead-end investment, making this a critical part of any commercial real estate due diligence checklist.
What to Look For
Your investigation should focus on the official municipal records and zoning ordinances.
- Zoning Classification: Confirm the property's exact zoning designation (e.g., C-2 for general commercial, R-3 for multifamily) and review the permitted uses within that classification.
- Physical Compliance: Verify that the property meets current requirements for setbacks, building height, lot coverage, and parking ratios. A multifamily property built with fewer units than zoned for due to parking minimums has a built-in density limitation.
- Variances and Special Permits: Identify any existing variances or special use permits tied to the property. Understand if they are transferable to a new owner and if they have conditions that could impact your operations.
- Development & Renovation Hurdles: Uncover potential restrictions like historic preservation rules or determine if a planned expansion would require a lengthy and uncertain variance process.
Key Insight: Current use does not equal legal use. Never assume a property's ongoing operation is compliant with current zoning code without independent verification from the municipality.
Actionable Tips
- Go to the Source: Verify all zoning information directly with the municipal planning or zoning department. Do not rely solely on the seller’s representations.
- Review the Full Code: Don't just check the primary use. Read the entire section of the zoning code for your property's classification to understand all nuanced rules.
- Assess Value-Add Potential: Investigate eligibility for programs like Opportunity Zones, historic tax credits, or density bonuses that can enhance a project's financial viability.
- Plan for Entitlements: If your project requires a zoning change or major variance, engage a local land-use attorney early to assess the feasibility, timeline, and cost.
7. Property Survey and Boundary Verification
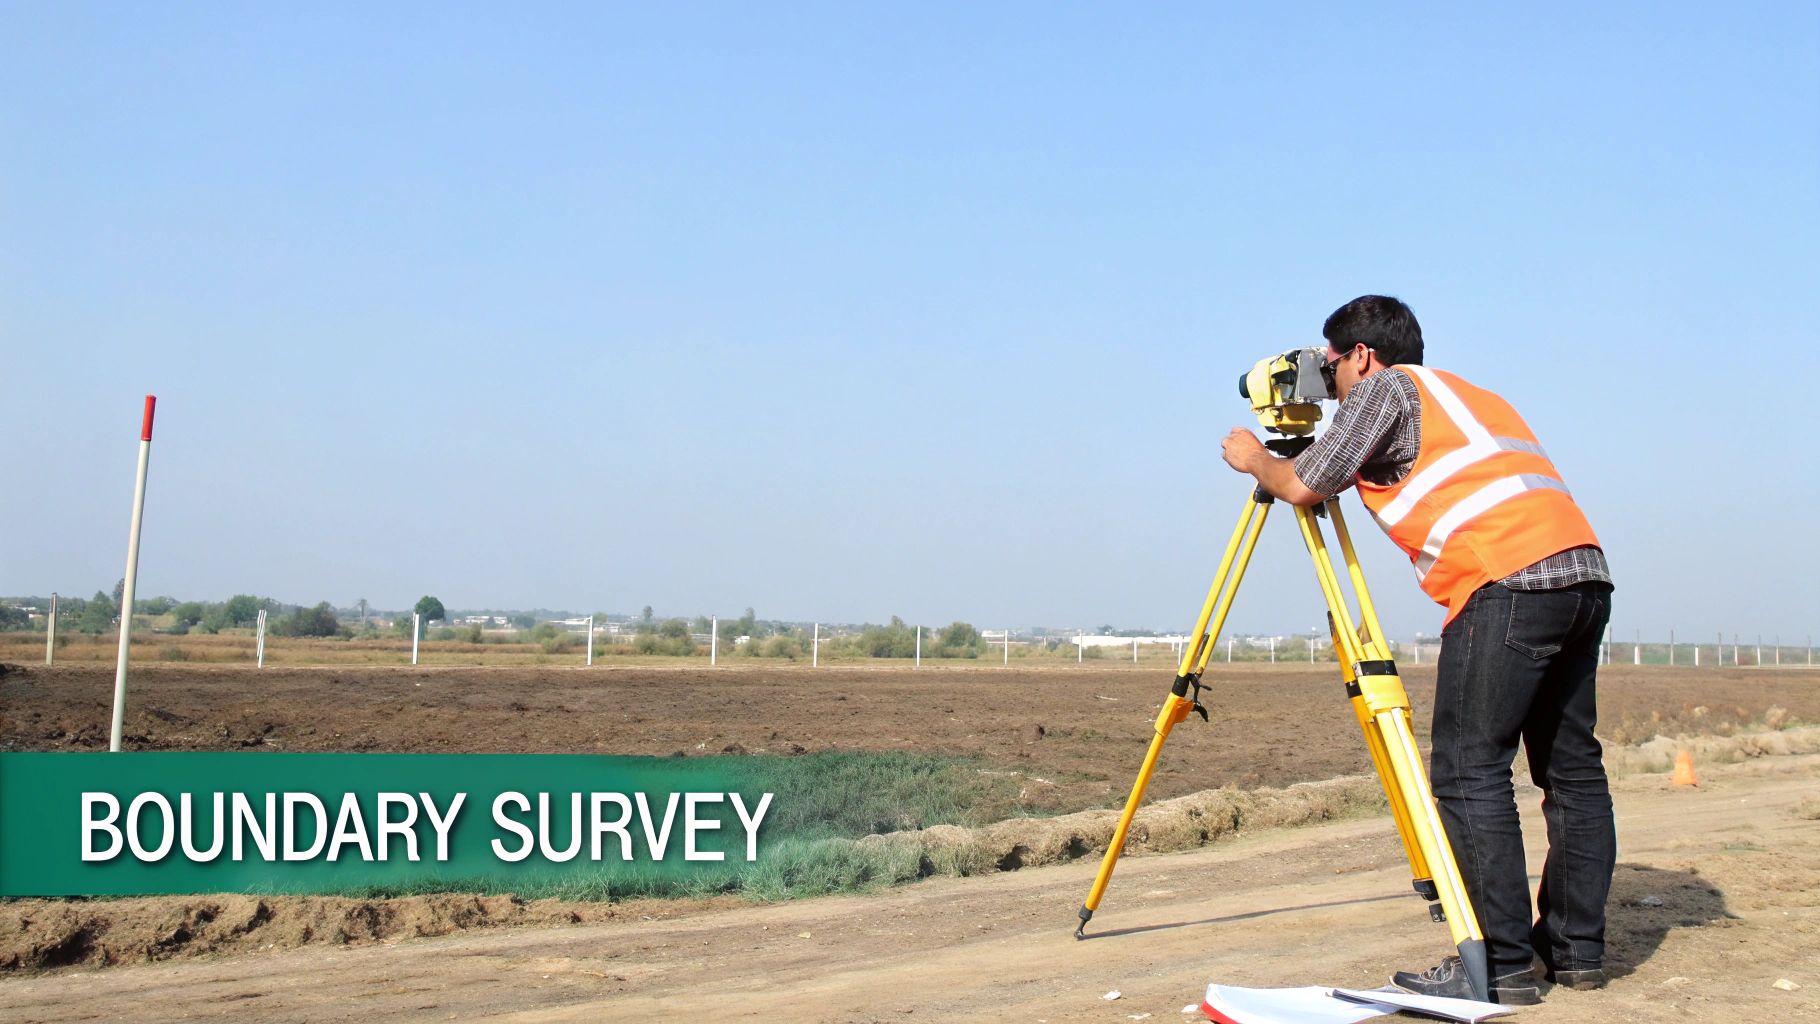
A property's listing might state it’s 5.0 acres, but only a professional survey can confirm that number and reveal exactly where your property lines are. A licensed surveyor creates a detailed map of the property, verifying boundaries, easements, encroachments, and precise physical dimensions. This is fundamental for development, financing, and securing title insurance, especially for land deals or properties with expansion potential.
What to Look For
The final survey plat is a legal document that should be meticulously reviewed with your attorney.
- Boundary Discrepancies: Is the actual acreage less than what was marketed? A survey showing a parcel is 4.5 acres instead of the advertised 5.0 directly impacts your purchase price.
- Encroachments: This is when a neighbor’s structure, like a fence, extends onto your property. It can reduce your usable land and create a complex legal issue.
- Easements and Setbacks: The survey will physically plot all easements from the title commitment. Seeing a 30-foot utility easement cutting across your prime development site visually confirms where you cannot build.
- Topography and Flood Zones: For land deals, a topographic survey reveals slopes and potential drainage problems. It also confirms if any portion of the property falls within a FEMA flood zone, which dictates construction requirements and insurance costs.
Key Insight: The survey is where the legal description from the title report meets physical reality. A discrepancy between the two is a serious red flag that must be addressed before closing.
Actionable Tips
- Order It Early: For any land purchase or property where expansion is planned, order the survey immediately after going under contract.
- Specify the Type of Survey: For development, request an ALTA/NSPS Land Title Survey, which is more comprehensive and includes details on improvements, utilities, and topography.
- Compare to the Title Commitment: Review the survey plat against the title commitment. If the survey shows an unrecorded easement not listed in the title, it’s a major issue to raise with the title company.
- Verify Recentness: Always request a new survey or, at a minimum, an update to an existing one, as an old survey might not reflect critical changes.
8. Debt and Financing Analysis
Understanding a property's existing debt is just as crucial as its physical condition. This analysis involves a deep dive into any current loans secured by the property, revealing opportunities for assumption or potential hidden costs. Financing directly impacts your cash flow, and an attractive, low-interest assumable loan might be a property's most valuable feature, especially in a rising rate environment.
What to Look For
Review the seller's loan documents with your legal and financial advisors to identify:
- Loan Assumption Clause: Does the loan allow a new buyer to take it over? If so, what are the lender's conditions and fees? An assumable loan with a 3.5% interest rate when market rates are 6.5% is a massive financial advantage.
- Prepayment Penalties: These are fees charged if the loan is paid off before its maturity date. A "yield maintenance" penalty could cost tens of thousands of dollars and dictate your exit strategy.
- Due-on-Sale Clause: This standard clause requires the loan to be repaid in full upon sale. You must confirm this is not the case if you plan to assume the debt.
- Loan Covenants and Restrictions: Existing loan agreements may restrict capital improvements or major new leases without lender consent, potentially limiting your value-add plans.
Key Insight: The existing debt is not just a liability; it can be a powerful strategic asset. Analyzing it reveals not only what you will owe but also how much flexibility you will have to execute your strategy.
Actionable Tips
- Request All Loan Documents: Obtain the complete loan package immediately, including the promissory note, deed of trust/mortgage, and loan agreement.
- Get an Estoppel: Request a formal loan estoppel certificate from the current lender. This document confirms the outstanding principal balance, interest rate, and maturity date.
- Model New vs. Assumed Debt: Run detailed financial projections comparing the economics of assuming the existing debt versus securing a new loan.
- Engage the Lender Early: If assuming the loan, contact the lender’s servicing department as soon as possible to understand their process and timeline. For more guidance, explore this complete guide to real estate financing options.
9. Insurance, Liability, and Tax Assessment
Beyond the purchase price, the true cost of owning a commercial property is heavily influenced by insurance premiums and tax liabilities. This step involves a deep dive into these recurring expenses. Failing to properly assess insurance needs and tax obligations can dramatically alter your financial projections, turning a promising deal into an unprofitable one. This provides a realistic picture of your annual operating expenses and protects you from unforeseen financial burdens.
What to Look For
Work with your insurance broker and legal counsel to analyze these key items:
- Insurance Loss History: A report from the seller's insurer detailing all claims made on the property, typically for the last five years. Frequent claims for water damage or theft can signal underlying issues and will lead to higher premiums.
- Current Insurance Declarations: This document outlines the seller's current coverage and serves as a baseline, but your premium will be based on your own risk profile and current rates.
- Property Tax Records: Verify that all past taxes are paid. More importantly, scrutinize the property's assessed value. A sale often triggers a reassessment to the new purchase price, which could cause a substantial increase in your tax bill.
- Special Assessments: Search municipal records for any pending special assessments. These are taxes levied for specific local improvements, like a new sewer line, and can result in a large, unexpected bill.
Key Insight: The seller’s insurance premium is almost irrelevant. Your final cost will be based on a new underwriting process reflecting current market rates and your specific operational plan.
Actionable Tips
- Get Quotes Early: Provide your insurance broker with property details and the seller's loss-run reports as soon as possible to get accurate premium quotes.
- Analyze the Tax Impact: Ask the local assessor's office how your purchase price will affect future property tax assessments and model this potential increase in your financial projections.
- Investigate Assessment Appeals: Request the property's tax assessment appeal history. If the current owner successfully lowered the assessment, find out when it expires.
- Review Tenant Leases for Requirements: On a platform where deal documents are uploaded, check for specific insurance requirements mandated for tenants to ensure they are compliant and mitigate your liability.
10. Utilities and Capital Expenditure Planning
A property's operating systems are its heart and lungs. Analyzing these systems and utility infrastructure is critical for forecasting future costs. This step moves beyond the current P&L statement to build an accurate budget for major repairs and replacements, known as capital expenditures (CapEx), over your planned hold period. An aging roof or inefficient HVAC system carries significant hidden costs that can quickly erase profits if not planned for upfront.
What to Look For
Your physical inspection and document review should create a clear picture of the property's operational health.
- Major Systems Condition: Examine the HVAC units, roof, and electrical panels. A roof inspection revealing it has only 2-5 years of life left requires budgeting for a replacement in your financial model.
- Deferred Maintenance: Look for issues the current owner has put off. A parking lot with extensive cracking might need a full resurfacing, a far greater expense than simple seal coating.
- Utility Consumption Data: Request at least 24 months of utility bills (electric, gas, water). High consumption could signal inefficiencies or opportunities for value-add improvements like LED lighting retrofits.
- Infrastructure Capacity: Assess if current systems can support your future plans. If you intend to add tenants, a building with its electrical service at maximum capacity will require a costly upgrade.
Key Insight: Capital expenditure is not an "if," but a "when." Proactively planning for these inevitable costs separates sophisticated investors from those who are caught by surprise with expensive emergency repairs.
Actionable Tips
- Build a 5-Year CapEx Plan: Create a schedule that prioritizes system replacements based on professional inspections. This turns vague future costs into a predictable budget item.
- Fund a Reserve Account: Determine how much to set aside monthly for future CapEx. One common approach is to budget 1-2% of the property's value annually, depending on its age and condition.
- Commission an Energy Audit: For a relatively small investment, an energy audit can identify specific upgrades that provide a clear return on investment through reduced utility expenses.
- Align CapEx with Renovations: If planning a value-add project, schedule major system replacements to occur during the renovation to minimize tenant disruption and achieve cost efficiencies.
Streamline Your Due Diligence and Find Your Next Deal
A comprehensive commercial real estate due diligence checklist is your blueprint for assembling a high-stakes puzzle correctly, ensuring every piece fits perfectly before you commit capital. It's a systematic framework designed to move you from initial interest to a confident close, transforming potential risks into well-understood variables. This process is about building conviction in your investment thesis with the hard data needed to validate your projections.
This methodical approach is your best defense against costly surprises and the foundation upon which profitable, long-term investments are built. By embracing this structured process, you can negotiate from a position of strength, plan for future capital needs with clarity, and forecast returns with a high degree of confidence.
Key Takeaways for an Effective Due Diligence Process
- Front-Load Your Analysis: The most critical financial screening should happen before you go under contract. Use quick calculations for metrics like DSCR and Cash-on-Cash Return to rapidly disqualify deals that don't meet your core criteria.
- Trust, But Verify: Never take information from a seller's marketing materials at face value. Independently verify rent rolls, operating expenses, and market comparables.
- Assemble Your Expert Team Early: Don't wait until you're under contract to find a qualified inspector, real estate attorney, or environmental consultant. Have these professionals ready to deploy quickly once the due diligence period begins.
- Leverage Technology to Accelerate Screening: In today's market, speed is an advantage. An investor marketplace that allows you to set up a buy box can deliver pre-vetted opportunities, letting you bypass the noise and focus your energy on deep analysis.
Ultimately, a disciplined commercial real estate due diligence checklist is not a barrier to closing deals—it is the engine that powers successful acquisitions, helping you build a resilient real estate business one thoroughly vetted deal at a time.
Create your free investor profile to get matched with deals that fit your criteria.